


Automated Connectware Deployment using GitLab CI/CD and Ansible
In this lesson we will set up a CI/CD Pipeline for Connectware using Ansible and GitLab. Our Connectware infrastructure will be composed of:
- 10 Siemens S7 connections services
- 10 Modbus connections services
- 1 data aggregation and transformation service
- 1 SAP Cloud connection service
As a prerequisite, it is necessary to have a valid Connectware License on hand. In addition it is necessary to have a Git environment. This can be either hosted on the cloud or on premise. We’ll be using GitLab for this example.
Finally, the deployment environment (i.e. the machine that will run Connectware) must have Docker and Docker Compose installed.
Info: Deployment environments can be hosted on premise or use a cloud solution. For advice on setting up your deployment environment please get in contact at Cybus Support
We assume you are already familiar with Cybus Connectware and its service concept. If not, we recommend reading the articles Connectware Technical Overview and Service Basics for a quick introduction. Furthermore this lesson requires basic understanding of Docker and Ansible. If you want to refresh your knowledge, we recommend looking at the lesson Docker Basics and this Ansible Getting started guide.
Introduction
GitLab CI/CD is a tool for software development that uses the concepts of Continuous Integration (CI) and Continuous Deployment / Delivery (CD), both are fundamental parts of modern DevOps.
Continuous integration is the practice where developers frequently collaborate and merge code changes into a central repository where automated builds, tasks and tests run. The build process helps to ensure that the application is not broken whenever there are new changes in the commits. Continuous Deployment is an extension of CI, as it deploys the latest changes to a test or production environment.
CI/CD helps deliver applications faster, with more quality and less integration problems. It also removes development pressure on decisions for small changes and promotes faster iterations.
Project Structure
To deploy Cybus Connectware using Ansible and the CI/CD pipeline we will set up a GitLab project with the following structure:
├── README.md
├── .gitlab-ci.yml
├── ansible
│   ├── ansible.cfg
│   ├── hosts.yaml
│   └── playbook.yaml
└── services
    ├── data-aggregation.yml
    ├── modbus.yml
    ├── s7.yml
    └── sap.yml
Code-Sprache: YAML (yaml)
Under services we place the Connectware services‘ commissioning files. Under ansible we place our playbook and a host configuration (more on this later). Finally, .gitlab-ci.yml is our pipeline configuration file.
Pipeline Configuration
To provide GitLab with all the information that is required to run the CI/CD pipeline, we need to write a short configuration file .gitlab-ci.yml.
Here we describe:
- The structure and order of jobs that we want to be executed (e.g. tasks, tests).
- The decisions the pipeline should make when specific conditions are encountered.
Note: You need to ensure that you have Runners available. If you’re using gitlab.com , you can skip this step. gitlab.com provides shared runners for you.
For self hosted runners, please refer to Registering runners | GitLab
variables:
  CONNECTWARE_VERSION: "1.1.3"

stages:
  - deploy

deploy-connectware:
  rules:
    - if: '$CI_PIPELINE_SOURCE == "web"' # Trigger from Web-UI
      when: always # Always run
    - when: never # Else never run
  image:
    name: registry.cybus.io/cybus/cybus-connectware-ansible:latest
    entrypoint: [""]
  stage: deploy
  script:
    - "chmod o-w ansible"
    - "chmod 600 $SSH_KEY"
    - "cd ansible && ansible-playbook playbook.yaml"
Code-Sprache: YAML (yaml)
The file uses the YAML text format, and follows the GitLab keyword reference. Inside .gitlab-ci.yml we define variables, stages (i.e. tasks) and the pipeline’s trigger.
- Variables: Connectware version to install.
- Stages: deploy is our 1 and only stage in our pipeline. In this stage we run deploy-connectware job.
- Jobs: deploy-connectware consist of rules, an image and a script.
- Rules: When is the pipeline triggered.
- Script: Makes Ansible executable and executes the ansible/playbook.yml (which deploys Connectware and its services, see Using Ansible for Connectware orchestration).
- Image: Latest Ansible image from Cybus‘ registry
- Pipeline trigger: In this case through the GitLab Web UI (Run Pipeline Button ). This can also be configured to be triggered by a new commit or merge event.
Ansible Playbook and Host Configuration
To deploy Connectware and its services we need to write a short playbook. In principle with the same structure as seen in Using Ansible for Connectware orchestration | Tutorial . One key difference might be the host. For on-premise self-hosted Git environments, the host name should be the IP address where you want Connetware to run, for example: localhost.
However, if you are using a cloud solution, such as gitlab.com, the host needs to point to a defined resource, such as a cloud environment.
In our example we’ll use AWS EC2 Instance to deploy Connectware.
Create an ansible/playbook.yml with the following content:
- name: Connectware Infrastructure Playbook
  hosts: AWS
  vars:
    connectwareVersion: "{{ lookup('env','CONNECTWARE_VERSION') }}"
    adminPassword: "{{ lookup('env','CONNECTWARE_ADMIN_PASSWORD') }}"
    license: "{{ lookup('env','CYBUS_CONNECTWARE_LICENCE') }}"

  tasks:
    - name: "Deploy Connectware"
      become: yes
      cybus.connectware.instance:
        version: "{{ connectwareVersion }}"
        license: "{{ license }}"
        admin_password: "{{ adminPassword }}"

 - name: Install Services (S7)
      loop:
        - host: dev01
        - host: dev02
        - host: dev03
        - host: dev04
        - host: dev05
        - host: dev06
        - host: dev07
        - host: dev08
        - host: dev09
        - host: dev10
      loop_control:
        loop_var: s7
      cybus.connectware.service:
        admin_password: "{{ adminPassword }}"
        id: "{{ s7.host }}_S7"
        commissioning_file: ../services/s7.yml
        parameters:
          ipAddress: "{{ s7.host }}"

    - name: Install Services (Modbus)
      loop:
        - host: dev11
        - host: dev12
        - host: dev13
        - host: dev14
        - host: dev15
        - host: dev16
        - host: dev17
        - host: dev18
        - host: dev19
        - host: dev20
      loop_control:
        loop_var: modbus
      cybus.connectware.service:
        admin_password: "{{ adminPassword }}"
        id: "{{ modbus.host }}_Modbus"
        commissioning_file: ../services/modbus.yml
        parameters:
          ipAddress: "{{ modbus.host }}"

    - name: Install SAP Connector Service
      cybus.connectware.service:
        admin_password: "{{ adminPassword }}"
        id: "demo_sapconnector"
        commissioning_file: ../services/sap.yml

    - name: Install Data Mapping Service
      cybus.connectware.service:
        admin_password: "{{ adminPassword }}"
        id: "demo_datamapping"
        commissioning_file: ../services/data-aggregation.yml
Code-Sprache: YAML (yaml)
Notice that our host points to AWS.
Info: In our playbook.yml we are using environment variables such as :
"{{ lookup('env','CYBUS_CONNECTWARE_LICENCE') }}"
- To set up the values of these variables, go to GitLab and select Settings > CI/CD > Variables.
Note: It is best practice to place sensitive information as environment variables and NOT in the code base.
Create another file called host.yaml with the following content:
---
all:
  hosts:
    AWS:
      ansible_connection: ssh
      ansible_host: demo-devops.cybus.io
      ansible_port: 22
      ansible_user: ubuntu
      ansible_ssh_private_key_file: "{{ lookup('env','SSH_KEY') }}"
Code-Sprache: YAML (yaml)
This will help Ansible deploy the Connectware infrastructure in our cloud endpoint (demo-devops.cybus.io)
Run the Pipeline
Make sure your project has:
- Ansible playbook and host configuration under /ansible
- Connectware service commissioning files under /services
- CI/CD configuration file .git.ci.yml
- Necessary environmental variables
- Valid deployment endpoint (host)
- Available Runners (either cloud based or self-hosted)
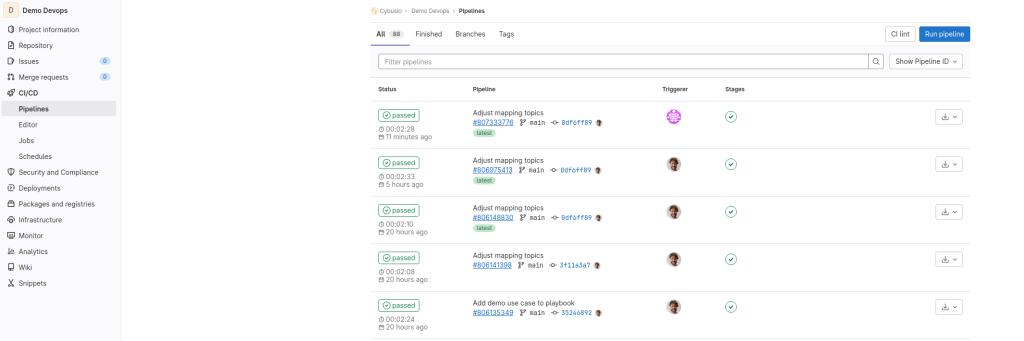
Then on the left panel, go to CI/CD → Pipelines → Run Pipeline
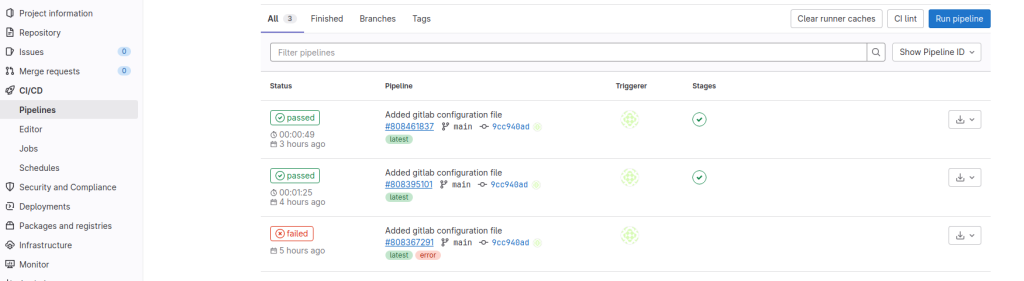
Congratulations, your pipeline should be running soon.
After a few minutes, the build will finish and GitLab will update the status to Passed. You should be able to open your host endpoint and login to Connectware.
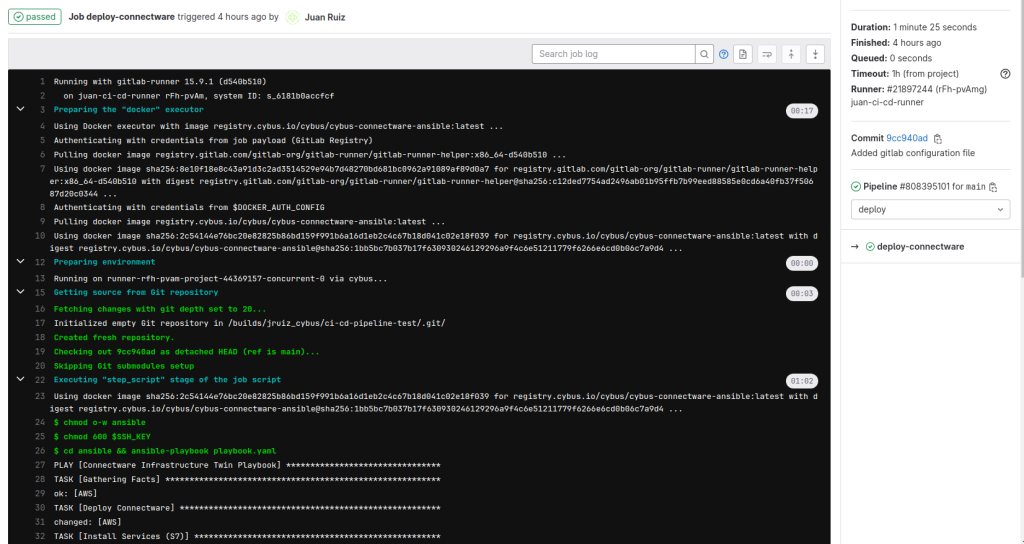
In case the Pipeline fails, the status will be updated to Failed. You are able to see more information by clicking on the status button. This will display the logs from the execution.
Need more help?
Can’t find the answer you’re looking for?
Don’t worry, we’re here to help.